Managing Chat settings
Agent provisioning
- Sign in to Heedify Admin Portal https://admin.heedify.io/ and select Agents from the left pane.
- Select + Add enter agent name, select Entity, Outbound call and License level
- Select Add
Queue configuration
- Sign in to Heedify Admin Portal https://admin.heedify.io/ and select Queue from the left pane.
- Select + Add, fill-up all necessary information as per need and select Save
- Select Channels tab, enable Chat option and select Save
- Go to Chat tab assign agents to channels
💡 For detailed Queue configuration, please check here.
Chat Flow configuration
- Sign in to Heedify Admin Portal https://admin.heedify.io/ and select Chat flow from the left pane.
- Select + Add, enter already created Bot information, bot key, flow name and entity then select Next
- On Greeting tab, select needed message, enter message body and Save
- On Routing tab, define needed routing. For more details, check Routing section
- On Functional Admins, select users that need to access to reports and click on Save
Routing
Possible routing steps types are available:
- Customer choice : the bot send a an action with multiple choices

image.png
- Form : the bot display a form to be filled by the customer
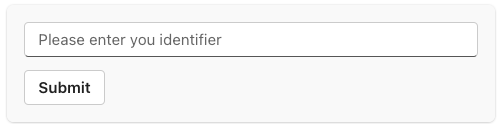
image.png
- Queue : the message is routed to a queue (channel)